One of the ds106 assignments is to produce an image by averaging photos in flickr according to a concept. Timmmmyboy has produced a great tutorial which uses photoshop. I have made some of these several years ago (2006) – the first one by accident when I was using picasa. I had accidentally selected 40 inmages instead of 5 when I was making a mosaic. I will explain this later as it is a free service and very simple to use – a great alternative for those who don’t have photoshop.
After a bit of experimentation I produced several of them – I like using a mixture of portrait and landscape image as it makes interesting frame effects.
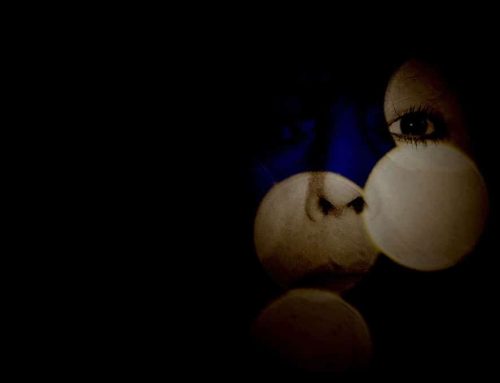
This one is on flickr and was made from photos of a trip to China – called palace of dreams – which has a faint vision of the summer palace pagoda…

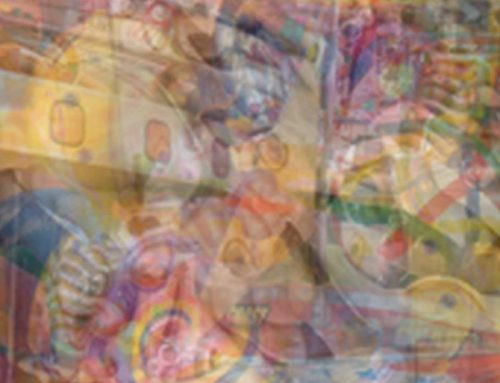
This one was more abstract and made from a range but I liked the square frame it made
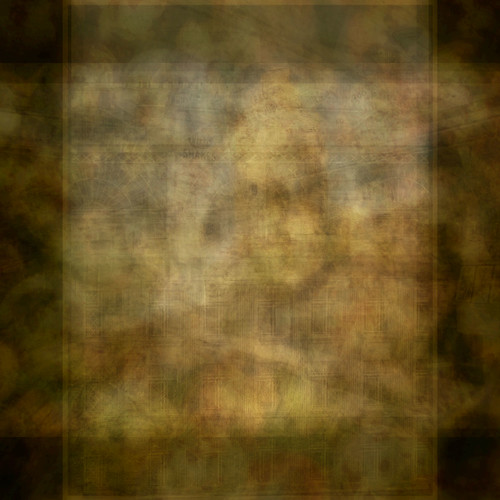
Anyway I thought I should also do the assignment properly with other people’s photos so I followed the tutorial and used bulkr to connect to flickr and download the first 50 photos into a folder.
Then I opened picasa and it automatically found the new folder. If you are doing it for the first time it can take some time for it to find all your photos – however the tool is a great way to view and organise your photos…
You can use the menu to ‘add folder to picassa’ – so this is probably the easiest way…
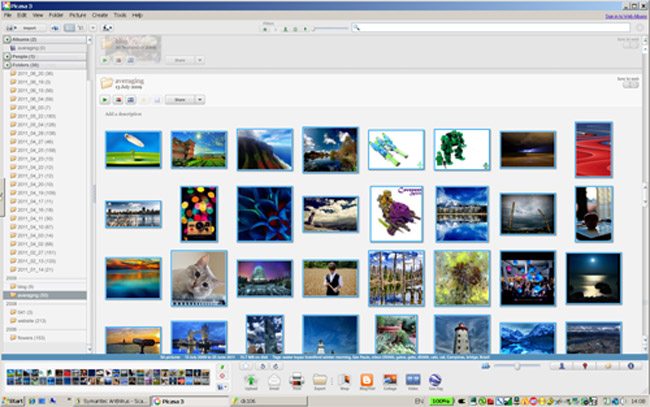
I then selected all the photos in the folder using ctrl and shift – see in this screenshot how they are shown in the bottom left corner…
then click on the collage button at the bottom to the screen (three from the left).
On the next screen click on the multiple exposure option at the bottom of the settings menu…
The screen will then show you your averaged picture – click on create collage and it will be saved – this can take a while.
And here is the finished result…. Hope the screenshots are helpful…
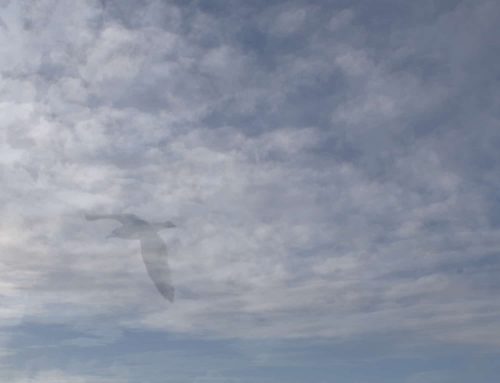
It’s called blue… (the search term I used to find the images) and it’s in flickr. 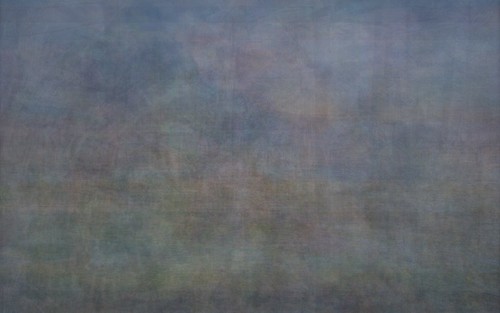
This has definately made me want to do more..
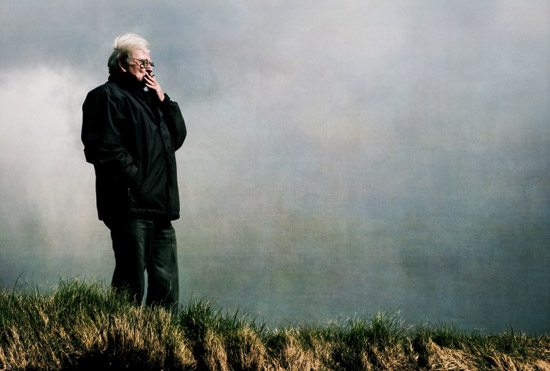
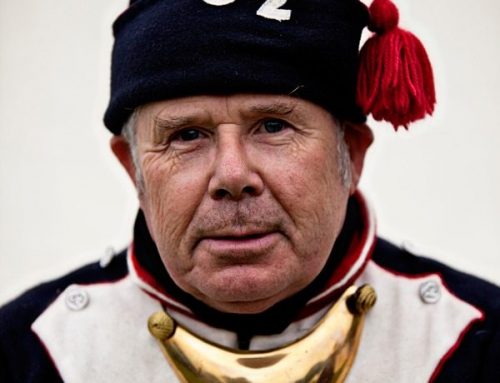
One way to take this to another level is to use your image as an overlying layer in another image… I did this in photoshop by adding a new overlay layer on a favourite photo of my dad. It adds subtle depth and texture…see the photo at the top of this post…



[…] I chose to show only “Interesting” images with an adaptation-friendly CC license. Then I chose the first 50 images and downloaded them locally to a folder on my desktop. Next we fire up Photoshop to do the heavy lifting. Update: Apparently you can also do this in Picasa, which is free and awesome. Check out the great tutorial by Lou McGill. […]
Killer twist at the end, adding the averaged collage to another photo. My head is now swimming with ideas. Thanks for that!
love where you’ve taken it cheryl…
This is amazing. I love the final result, and I love the way you both documented your process and then added another assignment to the whole thing. Genius, I have to try this now.
great – look forward to seeing it. works great with buildings I think – this is the method I used for my metropolis series (mentioned in my first ds106 post). on flickr at http://www.flickr.com/photos/dramaqueennorma/430844443/in/set-72157600016893195/
[…] today came Lou McGill’s post Layers, which took the idea to a whole new level. I still aspire to make something as wonderful as the […]
Just come from your posting of Blue on Flickr, Lou. I think this looks like a really interesting project! Love the output – especially the combining it in a composite. Ace. I shall have to give this a go.
One other use I see of the output is as a cool design element for any kind of background on website/mobile app stuff (my other interest). Good stuff 🙂
great – look forward to seeing your results – glad it might be useful
[…] bank will in many ways start to reflect those changes of interest and focus over time, very cool. A whole host of folks did the Averaging Flickr Concepts […]
[…] is a follow-on post to the one I did for DS106 on averaging of photos which was for visual assignment 13. That post included a tutorial on how to use picassa to […]
[…] Since I am a Picasa user, and the link posted above by Tim Owens was for Photoshop users, I went to another tutorial that he posted for Picasa users -> Lou Mcgill’s Tutorial for Picasa users […]